PVC Pipe Drums
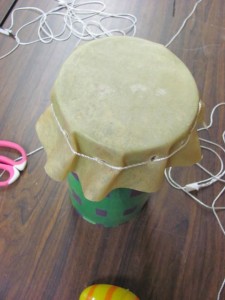
As promised, here is the big reveal of the instruments we made this week at our rec rockers summer camp…..
DRUMS!!
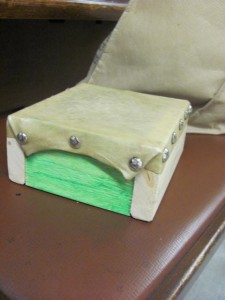
Last year, we made drums out of wood.
They turned out pretty well – but the sound wasn’t a very deep sound as the drum body was so short. This year we decided to try making drums out of PVC pipe. Here are the step by step instructions (believe me I wish I had these on Monday!).
Materials:
1) Drum Head
Luckily, we had some elk skin left over from last year. My favourite place to get skin for drums in Vancouver is Pacific Leather (http://www.pacificleather.com). Before you cut the skin, you are going to have to soak it. (You’ll need a BIG sink or a bathtub!) Basically, the bigger the animal the thicker the skin – and the longer you will have to soak it for. Also, the longer you soak it the more pliable and easy to work with it will be.
2) PVC Pipe
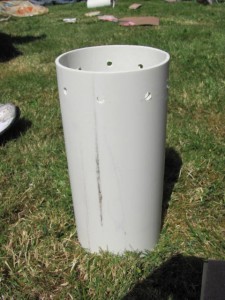
We didn’t have too much skin leftover so we went with a 4 inch wide, 10 foot long PVC pipe. We got it at The Home Depot for about 20 dollars. We cut it into 9 inch long sections, which will give you ten pieces. (Or 9 for us as the first one had a little accident!)
You will also need to drill holes near the top of each piece of pipe – it needs to be an odd number of holes (you’ll see why later) – I recommend 9 around each piece.
3) Drill
4) Sandpaper
5) Strong twine:
We used nylon string and it held perfectly.
6) Gloves
7) Scissors
8) Duct tape
9) Goggles
10) Masking tape
11) A nose and mouth mask
12) Old cardboard
13) Spray paint!
Any colour you want! I was tempted to buy the more expensive made for plastic spray paint – but ended up going with the regular Krylon kind and it worked fine! (Each can was less than 5 dollars at Walmart). You might want to get a white primer to cover any black writing that comes on the PVC pipe. We didn’t and some of it showed through.
Okay, now that we have the materials let’s get started!
Step 1) Sandpaper the PVC pipe on the top, bottom and around the drilled holes as it will be rough from being cut. No need to sandpaper the whole thing – the spraypaint will stick!
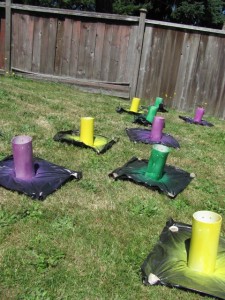
Step 2) Spraypaint, Spraypaint, Spraypaint!
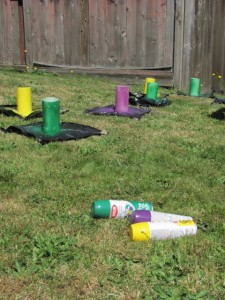
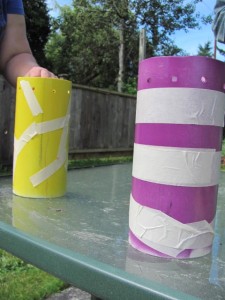
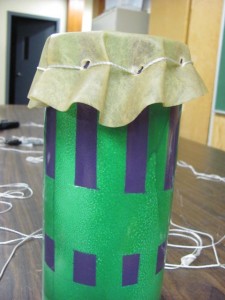
Choose a colour for a base coat and spray at least two coats. Let dry overnight. Using the masking tape, tape off any areas of the pipe that you want to remain the original colour! As you can see we used garbage bags to spray on – learn from our mistakes! It will get stuck to your pipe when it is wet from the spray paint! Use some cardboard out of your recycling bin instead!
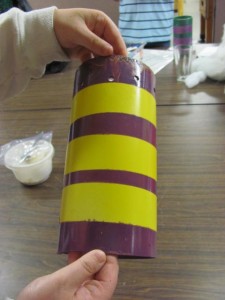
Then, spraypaint a different colour! Let dry and then take off the tape to reveal a cool pattern!
I thought that we would have to spray the lighter colours first or they wouldn’t show but yellow over purple worked nicely too!
Step 3) Cut Skin
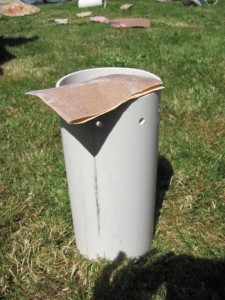
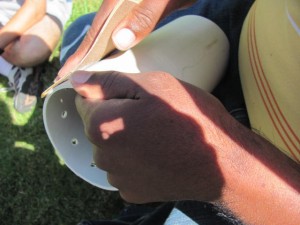
Cut the skin to between 5 – 6 inches, making sure you can fold it over and have it go below the holes on the pipe. Then, poke a little hole or draw a mark with a sharpie if your skin is not too wet to notate where the holes are. Take the skin and drill holes where marked.
Step 4) Stop whining and start twining!
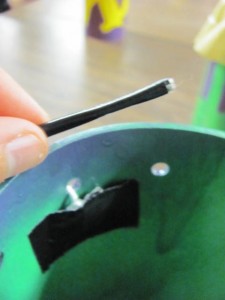
Cut a long piece of string (approximately 6 lengths of a ruler). On one end, tape a square out of duct tape. On the other end, put a small piece of tape around the string itself to make it easier to go through the holes. Pick a hole and pull the string through, taping the square below the hole.
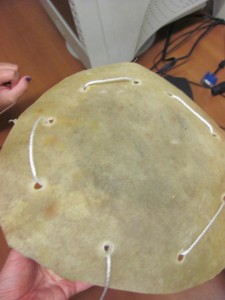
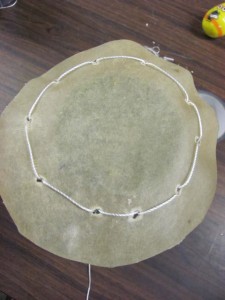
Put your drum upside down on the skin and pull the twine through a hole, making sure the smoothest side of the skin is on the table. Now, put the twine from the smooth side through the next hole, and into the drum. Then, out the next hole and down through the skin hole, etc. No need to pull it taunt yet! Once you’ve made it all the way around once, the top will look like this:
Simply continue the pattern around once again and it will now look like this:
Step 5) The big finish!
Put your hand inside the drum and find the square of duct tape where you started. Find the first time your twine showed on the inside, and pull it taunt. Skip the next inside loop, and pull the next one taunt. You are pulling every second loop until you get to the string that is dangling down from the inside! Now, find your start inside again. Pull the loop, then pull the very next loop but from the outside of the drum, alternating until the loose string.
Your drum head should be fitting nicely! Remember, we had to soak the skins to make them pliable – as they dry they will shrink onto the drumhead giving you a tight fit and a great sound.
Take the loose duct taped end of the twine and put it up and through each of the inside loops, creating a spider web look:
Once you’ve made it all the way around, pull the string as tight as you can and simply cut any extra and duct tape the end inside!
Guess what? You are done!! Let your skin dry and enjoy!
Hope this helps someone out there – be sure to let me know if you find a better way to do any of the steps, or material that you prefer!
